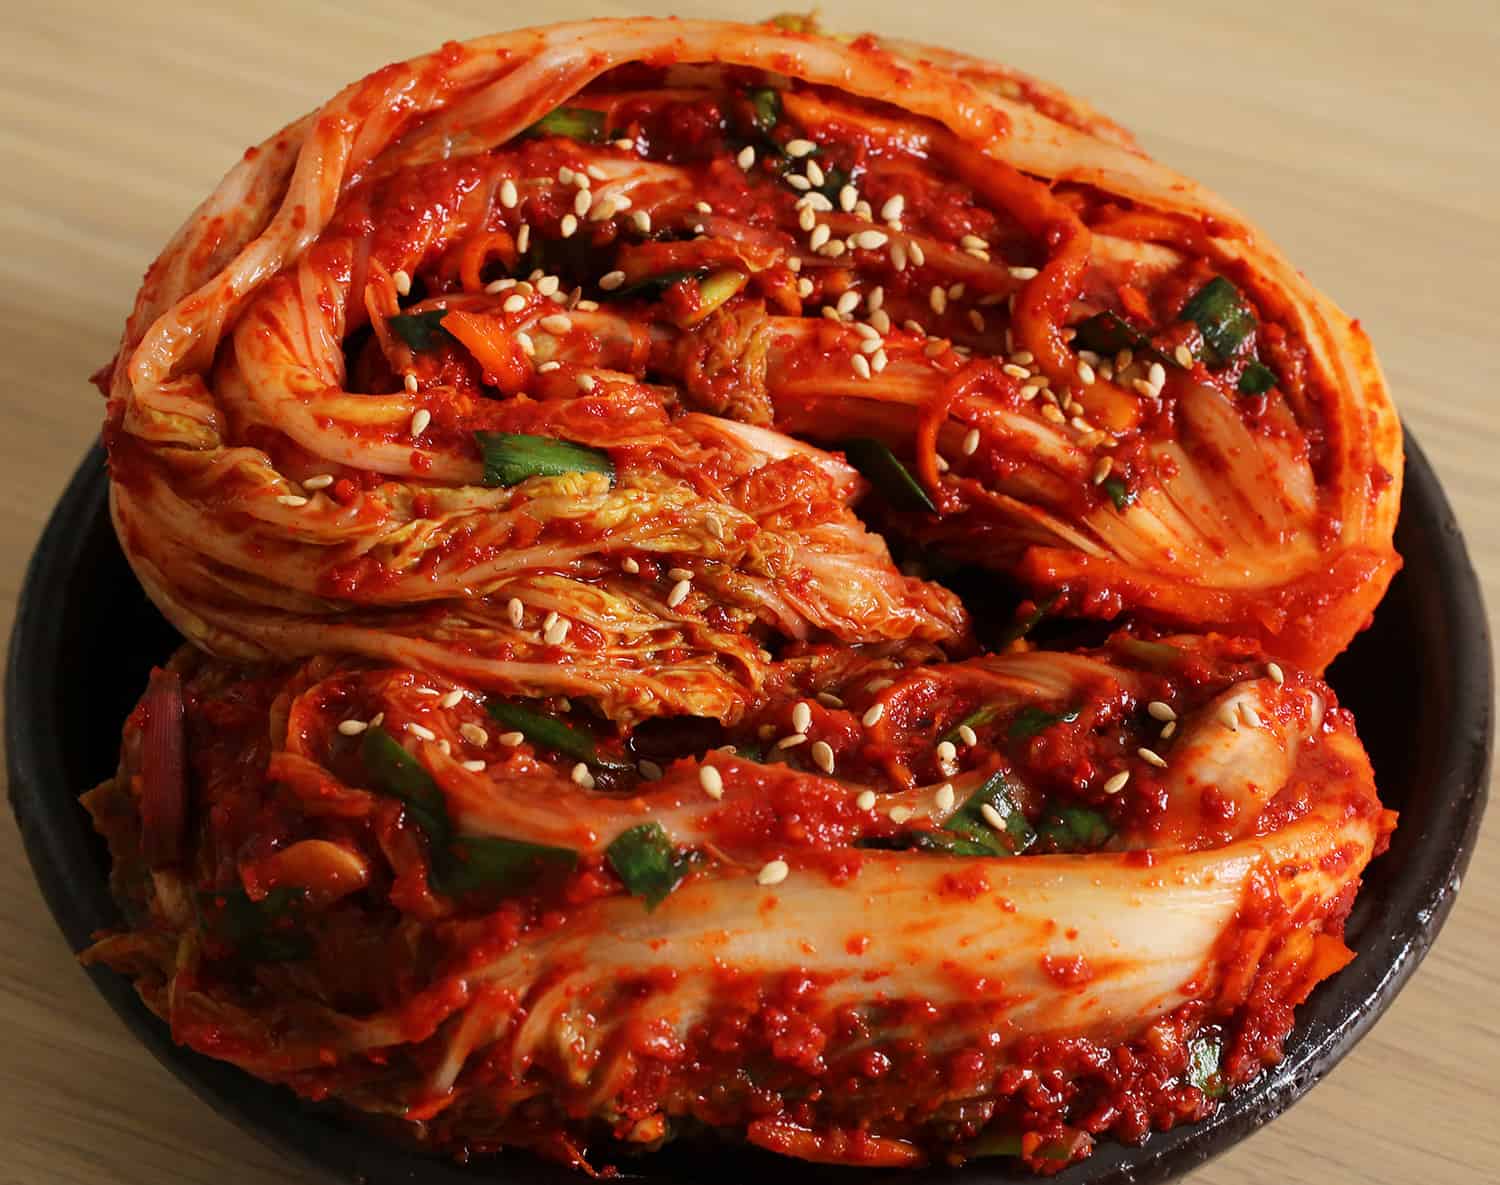
2020年5月3日星期日

Basque Burnt Cheese Cake 巴斯克焦面蛋糕


我家的心模太大了,我的蛋糕变矮了。。

简单没难度的蛋糕,2月做了给老公当情人节甜点。


Basque Burnt Cheese Cake 巴斯克焦面蛋糕 (6寸模)
食谱来自:MoLaLa Cook

Cream Cheese 250g
动物鲜奶油 70g
砂糖 60g
蛋 2粒
低筋面粉 10g

Cream Cheese 用打搅拌机打软,放入砂糖继续打至Cream Cheese顺滑,没有糖粒

打入一粒蛋后,用搅拌机打到看不见蛋,才打入第二粒蛋,用搅拌机打到看不见蛋

倒入动物鲜奶油拌匀,筛入低筋面粉,拌匀至无粉粒。

烤模放一张烤纸,把蛋糕糊倒入,放入预热烤箱以210°烤30分钟,至表面焦黄。冷却脱模,蛋糕连着烤纸一块送入冰箱冷藏一晚。隔天才小心把烤纸撕开,即可切块。


2020年5月2日星期六

彩色水粿


成品非常满意,看了心里有种莫名的疗愈。家里很多薯,黄和紫薯。紫薯的效果特别浪漫。

蓝色,是自家种的蓝花汁。本想着放点碱水,可是当我在紫薯面糊里加1小匙碱,紫薯色瞬间

产色化学效果,变成和蓝花色水粿的颜色。看了,真的不敢吃,就倒了。还是乖乖的做平常

吃的方法。

食谱是用我之前的方法,我在里头加了约100g的薯泥(因为我做的份量偏多,所以依个人份

量做+/-)蓝色水粿的滚水里放了约6朵蓝花(蓝花太多颜色会很深)。。我还是觉的这方法比

较合我家人的味口。我试过几种方法,家人都不

满意,觉的偏硬。


荷兰松饼 Dutch Baby Pancake


靠着鸡蛋本身的膨松力搭到蓬松效果。它的做法类似美国的Popover和英国的Yorkshire
 
Pudding。两者都是搭配肉汁或果酱牛油。 Dutch Baby Pancake 荷兰松饼是搭配水果。面对
 
疫情,家里没有草莓,Kiwi,香蕉。那就用我们马来西亚的国名搭配法Milo+炼奶,绝对是孩子
 
们帮你把早餐扫空空。
 
 
我家没有可以用来烤的铸铁平底锅,我用了圆烤模。荷兰松饼在烤箱里会膨到很高,取出后
 
就会回缩,是很正常的。
 
材料:
 
鸡蛋 2个
糖15g
牛奶 120g
低筋面粉 50g
黄油10g
 
做法:
1)鸡蛋和蛋搅拌均匀,加入牛奶继续搅拌均匀,再加低筋面粉搅拌至无颗粒状。
 
2)烤模中放入黄油,烤箱210°放入牛油烤模先预热5分钟。
 
3)取出烤模,牛油融化,趁热过筛入面糊,烤箱210° 烤20分钟取出,撒上一层糖粉。
(荷兰松饼在烤箱里会膨到很高,取出后就会回缩,是很正常的。)
 
4)放上切片的水果,草莓,香蕉等。


芋茸水晶饺


馅料:
鲜竹笋 100g(切丝)
瘦肉 50g (切丝)
鱿鱼丝 20g (泡软)
红萝卜 20g (我没放,因为没买到萝卜)
香菇 (浸软 ,切粒)
黑木耳(切丝,我的木耳太小粒,我就没切丝)

调味料:
鱼露 半汤匙
幼糖 1茶匙
鸡精粉 半茶匙
胡椒粉 半茶匙
清水 100ml

皮材料:
A:(去皮切块,蒸熟后压烂,过滤成油滑泥)
芋头 100g (我用了中秋节盛产的小芋头仔)zhu
紫蕃薯 30g
油 半汤匙

B:
澄面粉 50g
薯粉 20g
水 100ml
盐 1/4茶匙


香蒜油


做法:

1)将竹笋丝放入沸水中煮5分钟,捞出,滤干水。

2)热2汤匙油,爆香小葱片及鱿鱼丝,加入香菇,木耳后,加入萝卜丝,笋丝,肉丝及调味料,焖一会至汁稍干,取出待冷,分8等份。

3)将皮料B的澄面粉及薯粉置大碗中拌匀,将水及盐煮滚立即冲入粉料中,快速搅拌,盖好置10分钟。

4)将3)的粉团取出,加入皮料A的芋头及薯泥搓均匀,加油揉至光滑,分成8份每约35克,压平后包入馅料,捏成饺子状,放入蒸笼以中火蒸10分钟,取出刷上薄薄的蒜头油。


2020年4月18日星期六

韩式泡菜


用了Maangchi 的食谱做泡菜很多次,都非常的成功。

Ingredients材料:(食谱和照片源自:Maangchi)

Makes (3.6 kg) of Kimchi
3.8kg的泡菜
For salting cabbage:
  •  (about 2.7 kg) napa cabbage约 2.7kg的大白菜
  • ½ cup Kosher salt ( 72 grams) 盐 半杯
For making porridge糯米糊:
  • 2 cups water 水 2杯
  • 2 tablespoons sweet rice flour (glutinous rice flour) 2大匙 糯米粉
  • 2 tablespoons sugar (brown or white sugar)糖/黄糖 1大匙
Vegetables菜:
  • 2 cups radish matchsticks 白萝卜 2杯 切长丝
  • 1 cup carrot matchsticks红萝卜1杯 切长丝
  • 7 to 8 green onions, chopped 7到 8根 青葱 (切碎,但我切长丝)
  • 1 cup chopped Asian chives , optional (substitute with 3 green onions, chopped)韭菜 (随意)
  • 1 cup water dropwort (minari), optional 水芹 1杯 (我没放,因为我这里找不到)
Seasonings and spices:
  • ½ cup garlic cloves (24 garlic cloves), minced  1/2杯 蒜头·,切碎
  • 2 teaspoon ginger, minced  2杯 碎姜
  • 1 medium onion, minced 1粒 中型洋葱
  • ½ cup fish sauce 1/2杯 鱼露
  • ¼ cup fermented salted shrimp (saeujeot) with the salty brine, chopped 1/4 虾酱(我没放)
  • 2 cups hot pepper flakes (gochugaru) 2杯 辣椒片

Directions

Prepare and salt the cabbage:
  1. If the cabbage cores stick out too much, trim them off.
  2. To split a cabbage in half without shredding the densely packed leaves inside, first cut a short slit in the base of the cabbage, enough to get a grip on either half, and then gently pull the halves apart so the cabbage splits open.kimchi_cut cabbage
  3. Cut a slit through the core of each half, 2 inches above the stem. You want the cabbage leaves to be loose but still attached to the core.napa cabbage_cut (배추)
  4. Dunk the halves in a large basin of water to get them wet. Sprinkle the salt between the leaves by lifting up every leaf and getting salt in there. Use more salt closer to the stems, where the leaves are thicker.Salting cabbagecabbage_salting (배추 소금절이기)
  5. Let the cabbages rest for 2 hours. Turn over every 30 minutes, so they get well salted. From time to time you can ladle some of the salty water from the bottom of the basin over top of the cabbages if you want to.kimchi_cabbage salting (배추소금절이기)kimchi_cabbage salting (배추소금절이기)
  6. After 2 hours, wash the cabbage halves a few times under cold running water. Giving them a good washing, to remove the salt and any dirt. As you wash, split the halves into quarters along the slits you cut into earlier. Cut off the cores, and put them in a strainer over a basin so they can drain well.
kimchi-cabbage wash (배추씻기)
While the cabbage is salting for 2 hours, and in between the times you’re turning it over, you can make the porridge:
  1. Combine the water and the sweet rice flour in a small pot. Mix well with a wooden spoon and let it cook over medium heat for about 10 minutes until it starts to bubble. Add the sugar and cook 1 more minute, stirring. Remove from the heat and let it cool off completely.
  2. Pour cooled porridge into a large mixing bowl. Add garlic, ginger, onion, fish sauce, fermented salted shrimp, and hot pepper flakes. Mix well with the wooden spoon until the mixture turns into a thin paste.salted fermented shrimp (saeujeot: 새우젓)kimchi_seasoningskimchi_paste (김치양념)kimchi paste
  3. Add the radish, carrot, and green onion, plus the Asian chives (or more green onions) and the water dropwort if you’re using them. Mix well.Kimchi making (김치)kimchi paste (김치속)kimchi paste
Make kimchi:
  1. Spread some kimchi paste on each cabbage leaf. When every leaf in a quarter is covered with paste, wrap it around itself into a small packet, and put into your jar, plastic container, or onggi.
  2. Eat right away, or let it sit for a few days to ferment.
kimchi makingwhole-cabbage-kimchifresh-kimchi (포기김치)
On fermentation:
  1. The kimchi will start fermenting a day or two at room temperature, depending on the temperature and humidity of your room. The warmer and more humid it is, the faster the kimchi will ferment. Once it starts to ferment it will smell and taste sour, and pressing on the top of the kimchi with a spoon will release bubbles from beneath.
  2. Once it starts to fermented, store in the refrigerator to use as needed. This slows down the fermentation process, which will make the kimchi more and more sour as time goes on.
fermented kimchi (포기김치)


2020年3月23日星期一

自制猪肠粉


自制猪肠粉
米浆:
沾米粉 150g
玉米淀粉 30g
澄粉  20g
水 500g
油 1大匙

配料:
碎肉 (酱油,盐,麻油,胡椒粉调味)
蛋 (打散)
虾仁 (盐,酒,胡椒粉调味)
青葱粒

炒香芝麻 适量

酱料:200g 海鲜酱、100ml 水、2大匙 糖、4大匙 油、1/2大匙 麻油、1大匙 麦芽糖


做法:

1)米浆材料拌均,置一旁待用。

2)锅里大火煮滚水。

3)准备一个蒸盘(圆或长方)刷上一层油(不要太多)。

4)一勺米浆,倒入蒸盘上,均匀摇晃蒸盘,让粉浆散开。

5)铺上喜欢的配料,把蒸盘放入锅里,盖上锅盖,用大火蒸2-3分钟,打开锅盖时,粉肠起泡就熟了。

6)硅胶刀上抹少许油,慢慢把粉肠刮起。重复,至到粉浆蒸完。

8)淋上酱汁,撒上芝麻,即可。

7)甜酱:将全部材料(除了麦芽糖),小火拌煮至滚,加入麦芽糖拌匀,盛起待冷。


2020年3月17日星期二

自制日本年糕(面包机)


用平底锅
用烤的方式

请忽略我杆的不平整,这个做法有90%似日本年糕。做法也很简单,不用量份量,吃多少做

多少。不用锤打,手会酸痛。吃不完,可以收进冰冻箱里1个月。


长糯米 (浸5-6小时或一夜,有些人做出来的糯米团太湿,造成糯米团太黏,可以的话就不要把糯米浸太长时间。)

把浸好的糯米倒掉水。热蒸锅里放上一块蒸布,把糯米倒在布上,铺平盖上锅盖。蒸45分钟或熟透。(蒸糯米时把水都倒掉。)

趁热把糯米倒进面包机里以“和面”打30分钟,至糯米团完全没有米粒。手上沾些水或在面团上抹少许水。以方便取出面团。(我的经验,面包机有防沾的功能,我试过用Thermomax打,结果机器被黏着打不动,洗也不容易。

把糯米团放进封锁袋子里(ziploc),用杆面棒把糯米团杆成约1cm厚,放入冰箱里。(不能太厚,尽量杆到约1cm,不然烤或煎很难熟透)

隔天,取出切块。(约 长6cm x 宽5cm)

在年糕团两面的表面切一个“十”,可以用烤或中小火煎的方式,煎或烤直到年糕发涨,吐出泡泡。(方便熟透,也可以看到年糕吐泡)

可以搭配甜奶,或黑糖酱享用。趁热吃可以拉好长好长的丝。

吃不完,1块1块的包好,放入封紧袋里,存进冰冻箱(上层)1个月。


食谱来自:姗胖胖


2020年3月16日星期一

红糖油年糕(红糖粑粑)

第一次做,用水蒸米,煎出来的年糕只有脆皮里头是空的,好像被蒸发掉一样。


做法:(材料没有份量,全屏大约来衡量)


1)糯米粉分别两倒入2个碗中。

2)其中一个碗倒入少许水,搓成不硬也不要太湿的团,分成2团。

3)煮开一锅水,把糯米团都放入水中,煮到糯米团漂上水面,取出放入另一碗的糯米粉中。

4)用自己的"铁砂掌(手),大力的搓,直到糯米干粉都和糯米团完全融合一起,最好捏一下拉一下直到成团就可以了。

红糖酱(拌匀): 红糖 ,蜜糖,水 

5)热平底锅,倒入少许油,把年糕团放入锅中用小火煎至两面金黄。倒入红糖水,小火煮直年糕都沾上糖浆,关火。

趁热吃年糕非常有伸展力,凉后吃也Q弹哦✌